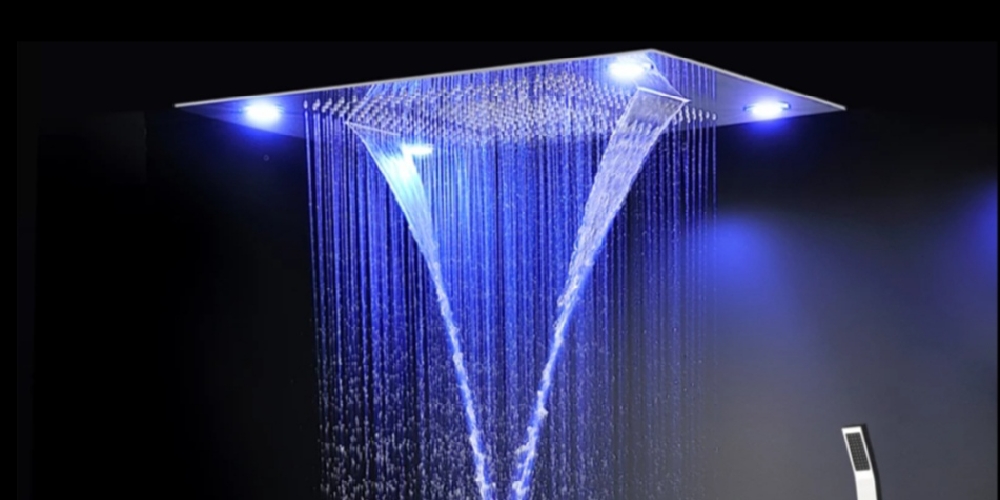
Bathrooms are important rooms in a house. With recent improvements in home interior décor ideas, bathrooms have begun to receive upgrades. One excellent way to make your bathroom uniquely beautiful is by installing an led shower head. It breathes a new air of beauty to the bathroom. It adds color to the bathroom and makes every shower moment memorable and an exciting experience.
Installing the LED shower head
If you’re a lover of DIYs, installing an LED shower head should be pretty easy. These steps will act as a guide during the installation process.
Step 1: Take out the old shower head
Out goes the old, and in comes the new! You’ll be needing a wrench here to loosen the nut. This is pretty simple to do. Place the wrench on the nut and turn it anti-clockwise. Since most older shower heads are attached by screwing the nut, prepare to catch the old head before it falls on the bathroom floor. Depending on the weight, it can cause damage to the floor tiles or whatever surface it falls on.
Step 2: Clean the faucet base
After removing the old shower head, use the opportunity to clean the faucet base with clean water. If you’ve used the old shower head for quite sometime, there’s every tendency that dirt would have accumulated on the faucet base. To minimize creating a mess, you can clean the faucet base directly into the tub. Any dirt removed will be washed away down the drain with the aid of water.
Step 3: Install the new LED shower head
Remove the LED shower head from the package and use a tape to wrap the threads. Most LED shower head comes with tapes in their packaging. The tapes on the threads create proper traction with the nut. To prevent water leakages and improve water pressure, place the rubber ring (if needed) between the shower head and the base.
Step 4: Tighten the LED shower head
Take the wrench and tighten the shower head. To tighten the head, turn the wrench in a clockwise direction. Continue turning the wrench until it gets to the end of the thread. When it does, it is difficult to make another turn with the wrench.
Step 5: Test the new shower head
With the LED shower head in place, it’s time for the moment of truth. Turn on the shower head and observe for leaks and pressure. Ideally, water should only flow out from the shower head nozzles. Not matter how little any observable leakage may seem, it’s best to stop it. Ultimately, it’ll affect the water pressure and the showering experience.
To amend the leakage, repeat the steps and ensure all threads are properly closed by the nut. Congratulations on a successful DIY activity. You’ve saved up plumbing money and gain plumbing experience.
Conclusion
An LED shower head is a beauty to behold in any bathroom. They come in different color types and can sometimes have a smart feature. This means the color settings can be adjusted with a remote control or an app. It can also allow you synchronize the running water with music (if it has that feature). Installing an LED shower head is simple and easy. With a wrench, you can have the old shower head removed and the new one installed in a matter of minutes.


